Yes, it involves a screwdriver. No, you don’t need a degree in engineering.
Changing a paper towel dispenser might sound like a daunting task, but don’t worry- it’s way easier than assembling IKEA furniture. Here’s how to do it without breaking a sweat (or the wall).
Step 1: Choose the right replacement
Before you go unscrewing anything, take a beat. What type of paper are you using? Roll towel, multifold, center pull? Picking a dispenser that actually fits your paper is key. Bonus points if it actually fits your wall (no one wants a wobbly install).
Step 2: Remove the old dispenser
💡 Snap a photo of the old unit in place. You’ll thank yourself later when someone asks how the old one was mounted.
Step 3: Mark the mounting holes
Step 4: Install the new unit
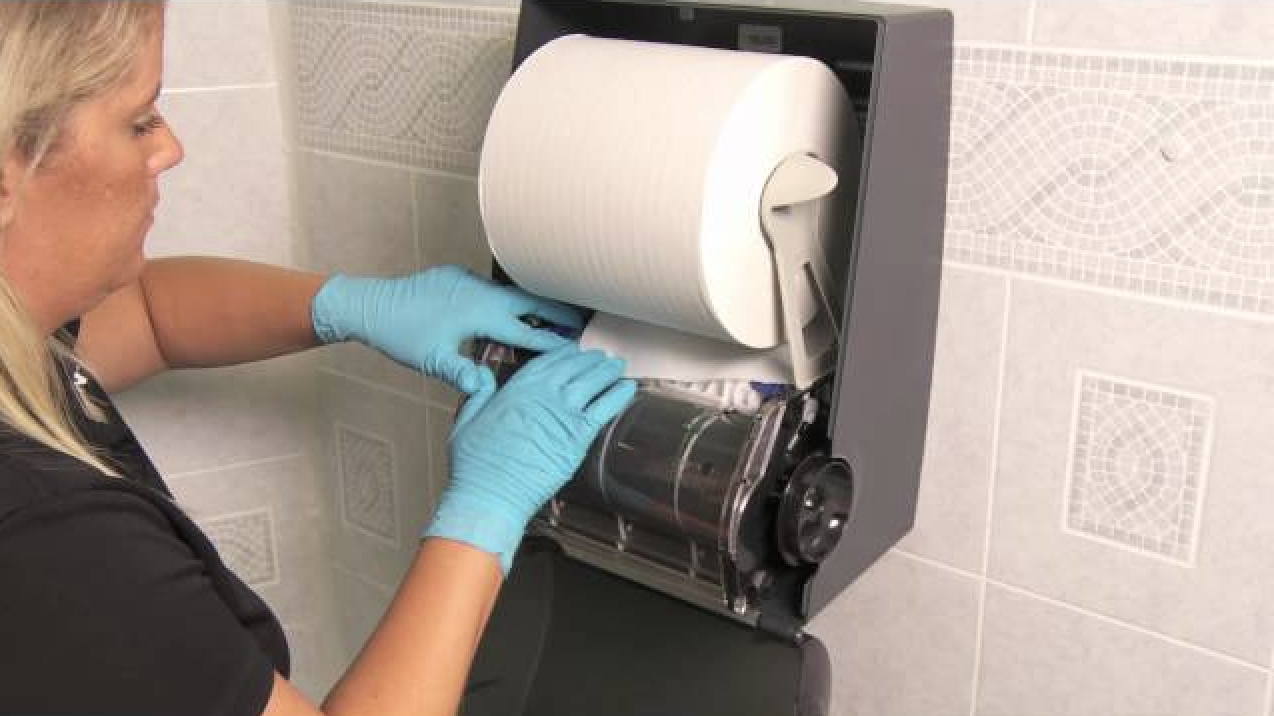
Step 5: Load the paper
Every dispenser has its quirks – follow the manufacturer’s instructions to insert your paper properly. Close the lid, give it a test pull, and admire your work.
Whether you’re upgrading to touch-free or simply replacing a tired unit, a well-installed dispenser is easier to use and keeps your space cleaner and safer. If you’re unsure what to install next, we’re here to help – no paper trail required.